Amiiqo / N2 Elite
Disclaimer: N2 Elite support is UNOFFICIAL
While there is minimal risk, third-party applications may damage your device. We take no responsibility for any damage.
TagMo (version 2.7.5+) supports using N2 Elite and Amiiqo devices. This allows you to use a single tag device to store up to 200 different amiibo.
Only an N2 Elite or Amiiqo is needed for use with TagMo. No external USB reader / writer is required.
This section will only cover features special to the N2 Elite hardware. If you run into any difficulties, please include a Logcat.
N2 Elite Initial Setup
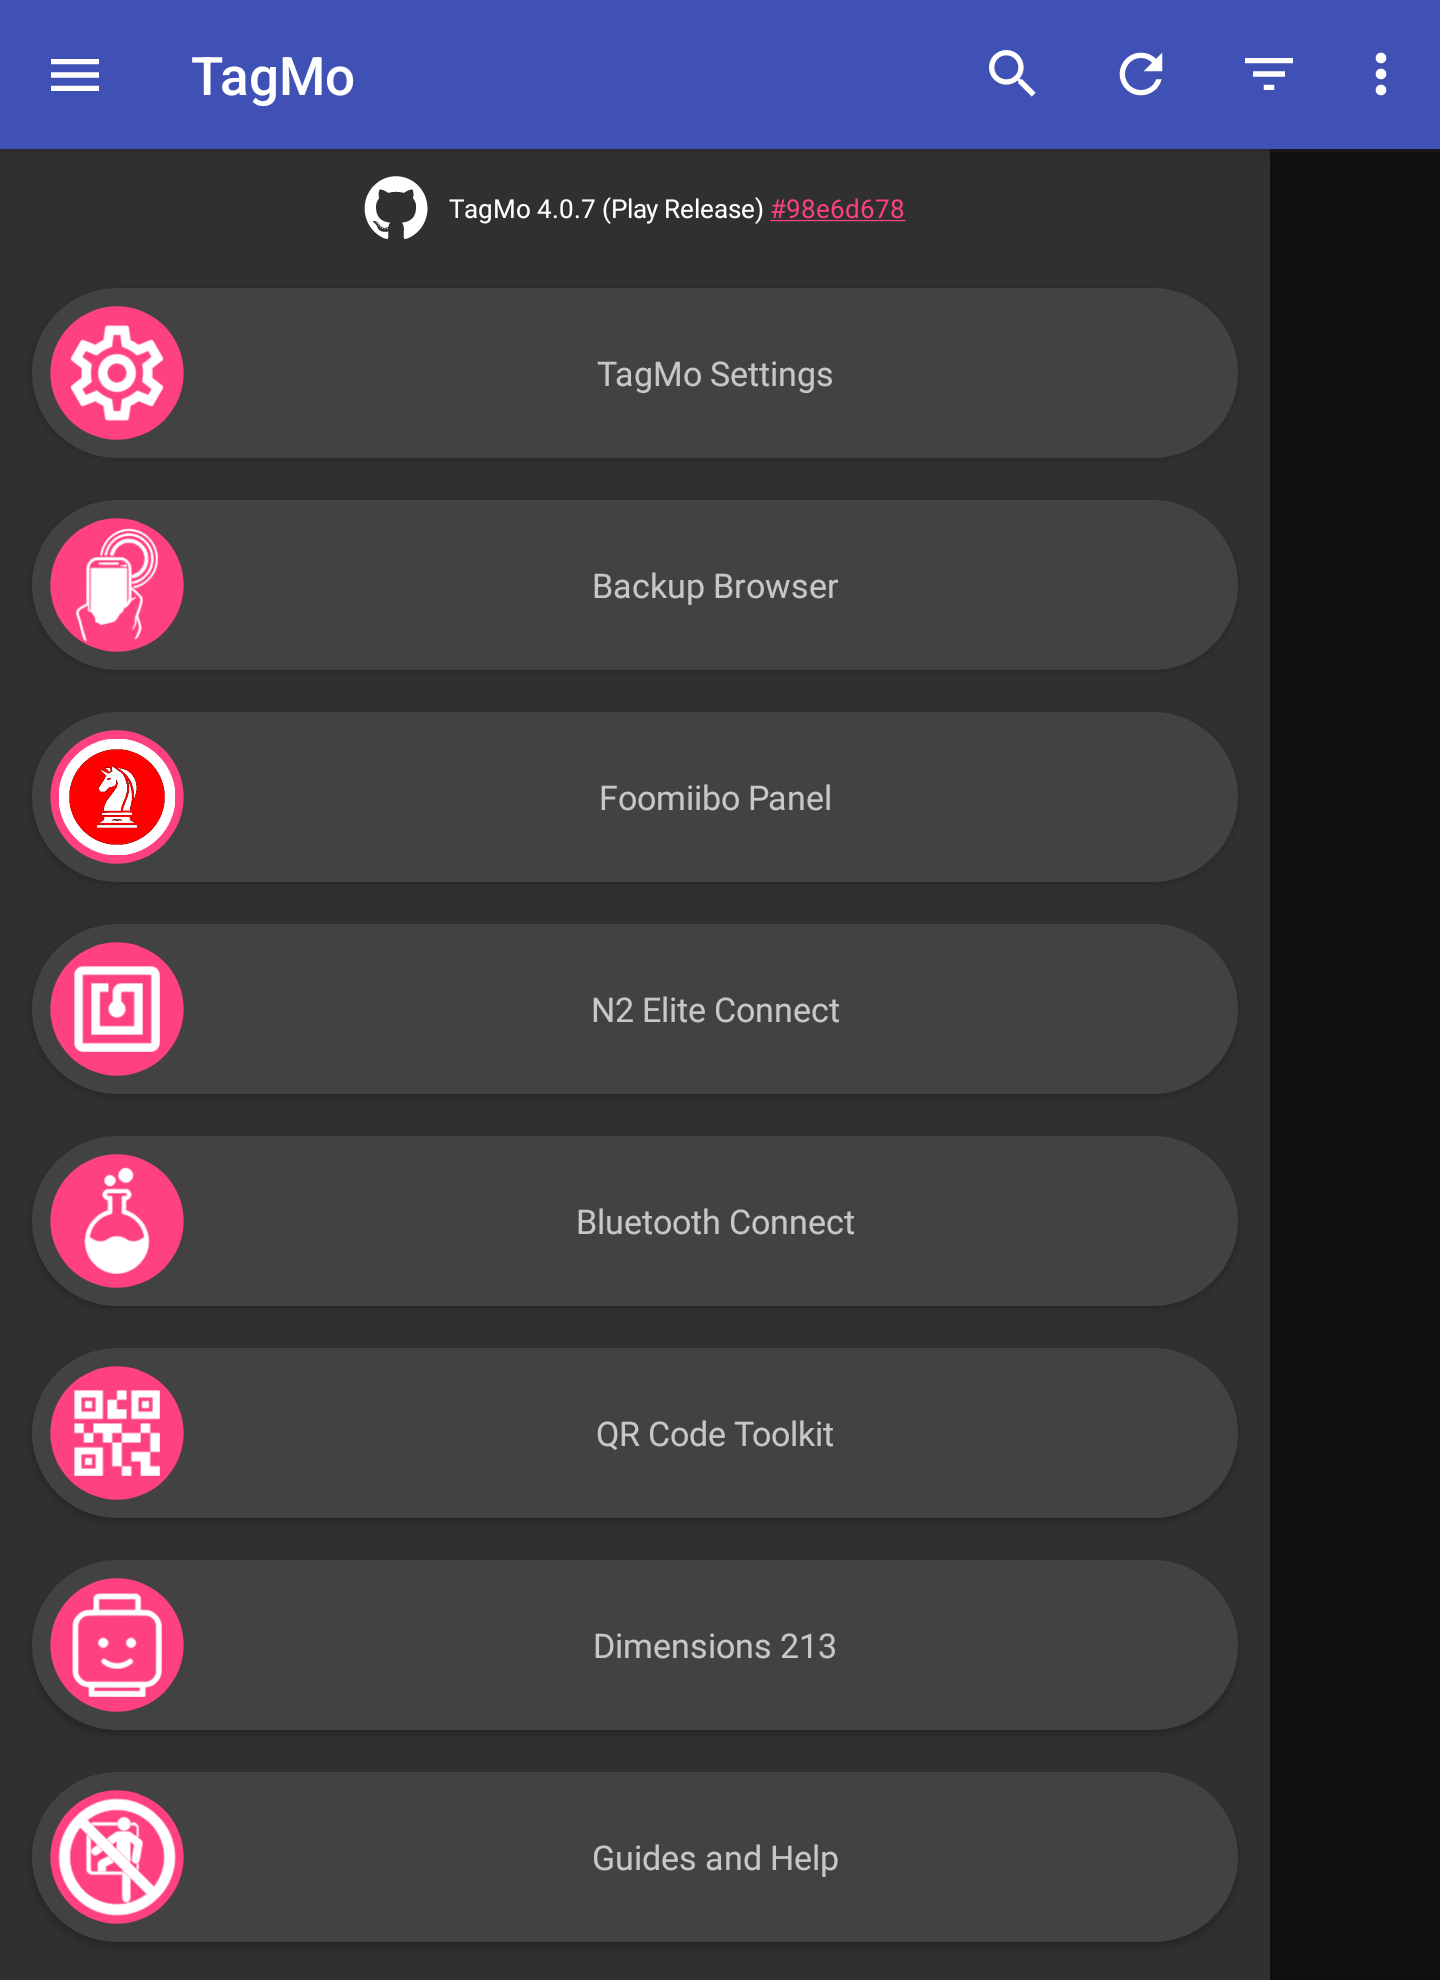
- Click the menu (3 lines) icon in the top left of the title bar
- Click TagMo Settings at the top of the menu page
- Enable N2 Elite support in the Tag Devices section
Scanning an N2 Elite
- Click the pink NFC icon in the bottom right of the browser window
- Select the option to "Scan an NFC Tag" from the menu that appears
- Scan an N2 Elite or Amiiqo device to switch to the "N2 Elite" page
- Pull up the bottom bar for general hardware / device options
- Select a single bank for individual amiibo and bank options

Unlocking the N2 Elite
- Click the menu (3 lines) icon in the top left of the title bar
- Click N2 Elite Connect near the top of the menu list
- The N2 Elite browser page will open with nothing shown
- Slide up the bottom drawer to reveal Device Options
- Click "Unlock N2 Elite" and confirm the disclaimer
- Consider using one of the following placement methods:
- Hold your phone near the top using your palm and fingers
- Hold your N2 and your phone together using the same hand
- Scan the N2 Elite and keep it held against the phone
- When prompted, also press and hold the N2 button
- Click "Continue", but do not move or release the N2
Selecting an Active Bank
- Scan the N2 Elite to open the specialized browser
- Select the bank from the list to set active
- Click the activate button from the amiibo preview
- Scan the N2 Elite to commit the changes
Setting the Bank Count
- Scan the N2 Elite to open the specialized browser
- Slide up the bottom menu to show options page
- If an amiibo is shown:
Click "Switch to Device Options" at the bottom - Set the desired number of banks (1 - 200)
- Click on "Write Bank Count to N2 Elite"
- Scan the N2 Elite to commit the changes
Archive tag from Bank
- Scan the N2 Elite to open the specialized browser
- Select the bank to use for the backup
- Click the three dot (overflow) menu
- Select "Backup amiibo" in the dropdown
- Scan the N2 Elite to retrieve amiibo
- Set the desired file name and click save
Replacing tag in Bank
- Scan the N2 Elite to open the specialized browser
- Select the target bank to write a new amiibo
- Click the replace button on the amiibo preview
- If selecting a <Blank Bank>, skip this step
- Select the desired amiibo from the expanded list
- Scan the N2 Elite to write to the target bank
Wiping tag from Bank
- Scan the N2 Elite to open the specialized browser
- Select the target bank to be cleared / wiped
- Click the delete button on the amiibo preview
- Scan the N2 Elite to commit the changes
Writing tag(s) to X Banks
- Scan the N2 Elite to open the specialized browser
- Slide up the bottom menu to show options page
- If an amiibo is shown:
Click "Switch to Device Options" at the bottom - OPTIONAL: Select a new bank count with picker
- Sets the active bank to 1 when beyond count
- Click on "Write [X] Banks to N2 Elite"
- Select the desired amiibo from the expanded list
- Click a second time to remove from the list
- Follow the prompts and scan the N2 Elite
- Wait for writing to finish (may take a while)
- If the browser list does not refresh:
Scan the N2 Elite again to reload your inventory