TagMo is struggling to remain funded and could cease to be maintained. Please consider donating to keep TagMo published.

Installing or Updating
- All release (and test) builds are posted to TagMo Releases
- Expand the "Assets" under a heading to reveal the apk for that version.
- Automatic updates are provided by the 'master' branch for all versions.
- TagMo can also be installed directly through Google Play
- There is a 48 - 96 hour minimum delay for review from Google Play.
- Issues resolved the same day may not appear fixed for up to 5 days.
- Android 7 and below require additional setup
- Open the Settings app from the app drawer
- Locate the category for "Security" settings
- Enable the "Unknown sources" install option
- Android 8 and up will prompt for permission
- Open the apk with your favorite file manager
- Follow the system prompts to install the apk
- Install the Wear Installer 2 app from Google Play
- Follow the setup instructions to configure WI2
- Download the "-WearOS" named version of TagMo
- Select "Custom APK" in the Wear Installer 2 UI
- Select TagMo and follow the install instructions
- Versions before 2.7.5 need to be uninstalled
- Proceed to the install guide this time only
- Click the red computer icon when it appears
- Approve permission for TagMo to install
- Follow the system prompts to install the apk
- amiibo binary key file(s). (Encryption keys cannot be shared for legal reasons)
- Blank NTAG215 tags, Power Tags, Amiiqo / N2 Elite, or Flask (Sold separately)
- amiibo backups or amiibo. (Backups cannot be shared for legal reasons)
- Writing an NFC tag is effectively permanent. Overwriting breaks recognition.
- Cards, coins, or stickers cannot be used as rewriteable emulator devices.
- Only NTAG215 is recognized as an amiibo. No other NFC specifications work.
- Only Android devices with 4.1+ and NFC / Bluetooth hardware are supported.
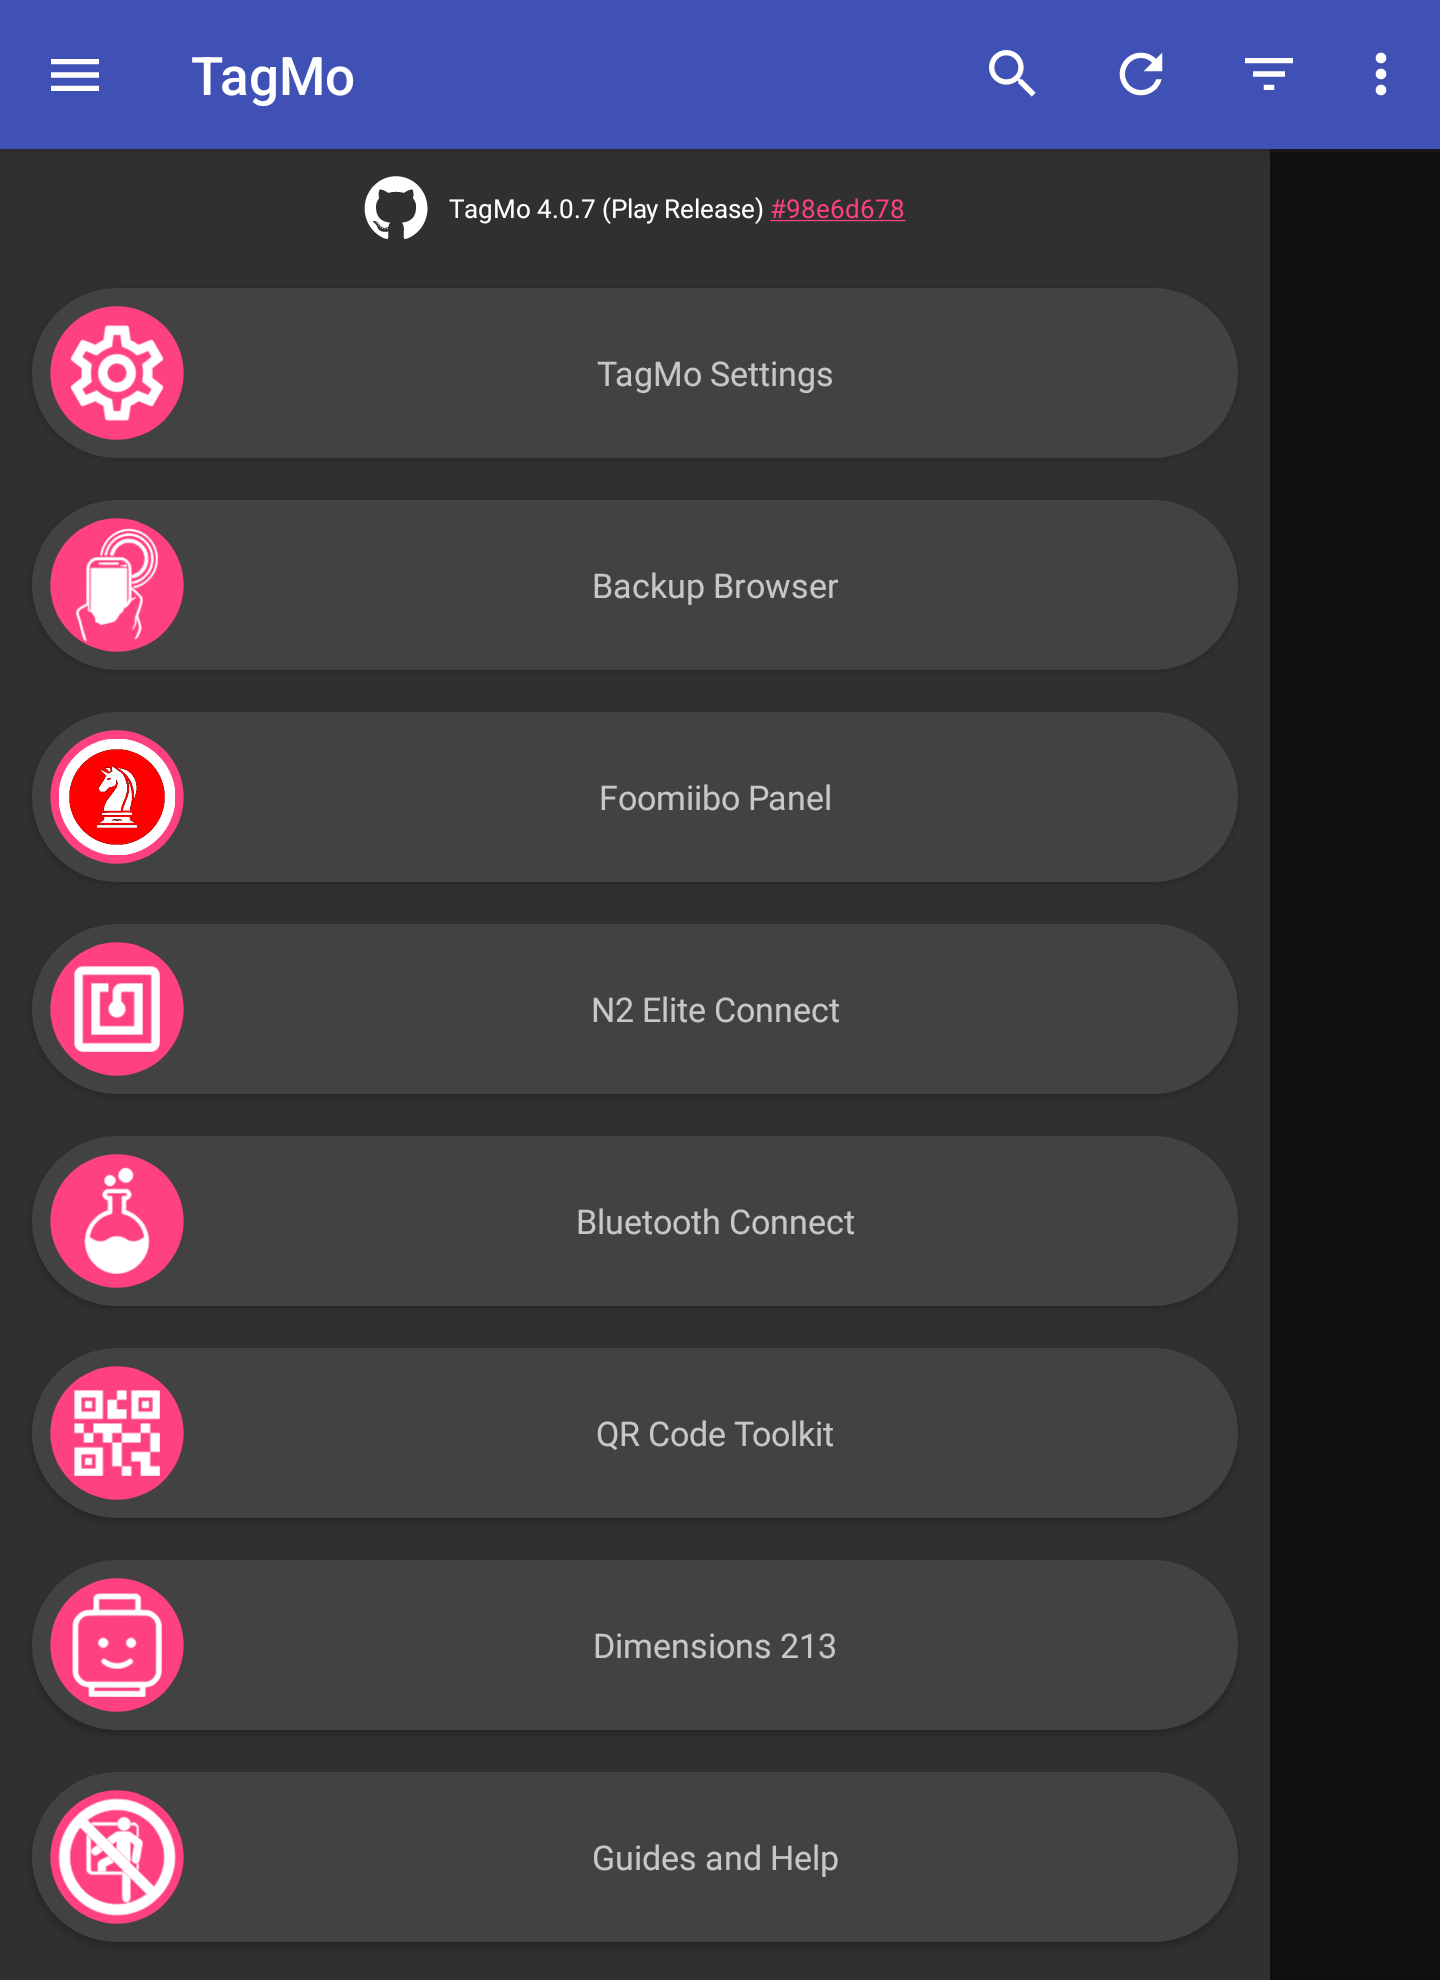
Importing Keys & Files
- Select the root folder where your bin files will be stored
- Allow your keys to be found using the automated locator
- Settings will open if no keys are found (see below)
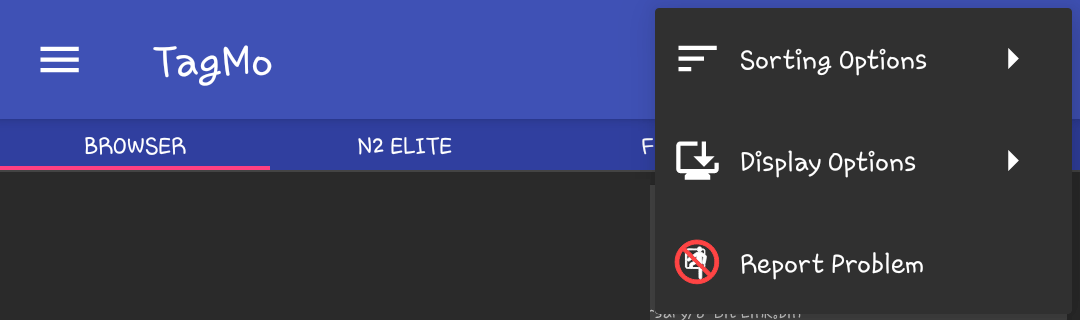
- Click the menu (3 lines) icon in the top left of the title bar
- Click TagMo Settings at the top of the menu page
- Click Import amiitool keys and select your key file(s)
- Allow files to load from the selected root folder (recursive)
- Swipe up the bar or click the bottom right arrow for options
- Update Document Storage selects a new starting folder
- Enable "All Files" Manager switches to a file manager
- Enable Document Storage switches to document mode
- Recursive can be toggled in the Display Options overflow menu
Emulating amiibo Tags
- Most devices lack the firmware or drivers to emulate NTAG215
- Requires a rooted device and unlocked bootloader
- Requires NFCGate and other specialized software
- No software to emulate NTAG215 currently exists
- Phones can emulate a Pro Controller using the JoyCon Droid app
- Requires a rooted device for Switch FW 12.0.0+
- Requires modifying the device Bluetooth profile
- Bluetooth must have HID_DEV_MTU_SIZE 512
- JoyCon Droid does not support writing / updating
Scanning amiibo Tags
- Tags can be scanned using a Pro Controller or right Joy-Con
- Pro Controller
- Press the tag onto the top center of the controller face
- Slowly slide the tag as needed for it to begin reading
- Right Joy-Con
- Allow the tag to tilt with the curvature of the joystick
- You may need to try more than one angle or position
- Once reading begins, stop moving and wait for it complete
- Important: Some third-party hardware does not include NFC
Writing an amiibo Tag
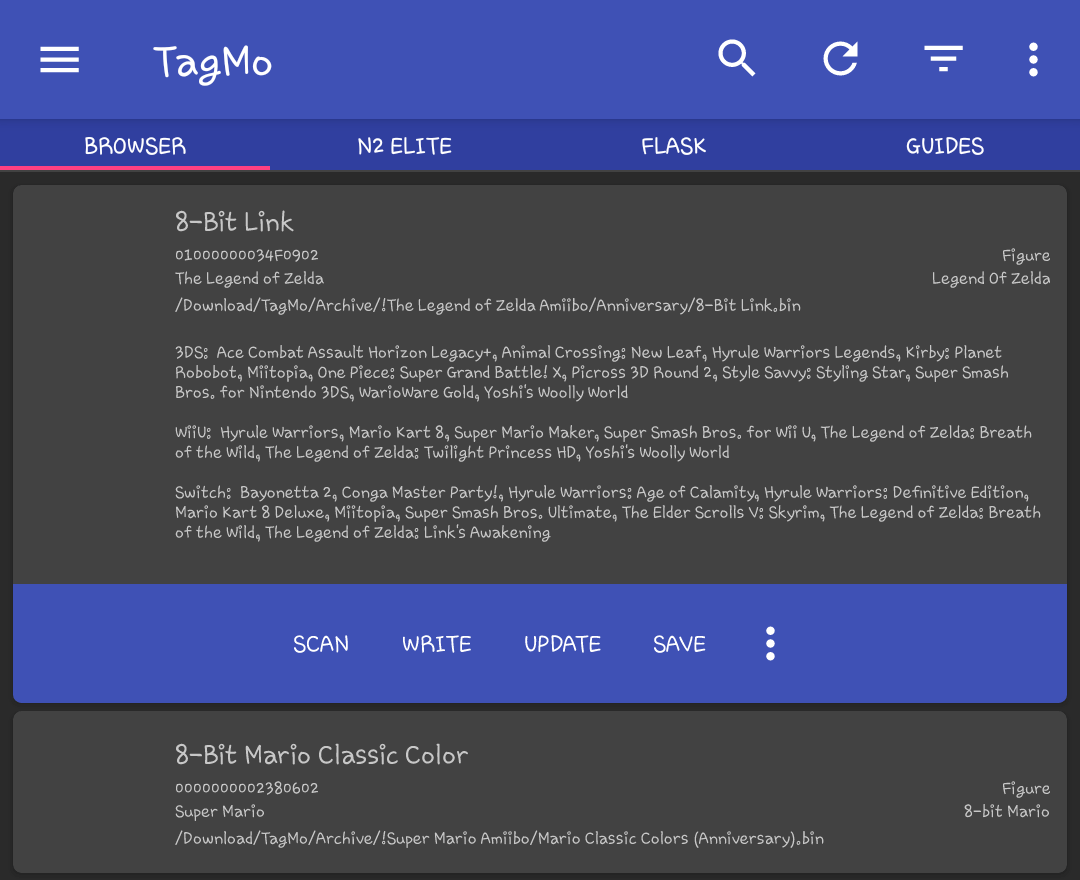
- Allow TagMo to scan for amiibo files and click one from the list
- Click "Write" and place the phone over a blank NTAG215 tag to write
- Single use tags with data on them will prompt to update instead
Updating an amiibo Tag
- Select amiibo from the browser or click the pink NFC icon to scan.
- Make the desired changes (See the Edit Props page for more details)
- Click "Update" and place the phone over the NTAG215 tag to write
Erasing an amiibo Tag
- Tags that have been written and locked cannot be erased or replaced
- Locked tags are essentially the same as a physical amiibo statue
- You can still edit the Mii or game data, but not the character or serial
Cloning a Retail amiibo
- Click the pink NFC icon in the bottom right of the browser window
- Place the statue on the device NFC point (typically on the bottom)
- Click "Write" and place the phone over a blank NTAG215 tag to write

Saving a Copy (Backup)
- Click the pink NFC icon in the bottom right of the browser window
- Scan the statue or tag and wait for the preview window to fully load
- Click "Save" and follow the prompts to input a bin name and save
- Bin files are saved to the TagMo public storage Download(s) folder
Binary Hex Code Editor
- Select amiibo from the browser or click the pink NFC icon to scan.
- Click the three dots and select "View Hex Code" from the menu
- Select an item(s) to edit the text and click save when finished
- Verify a valid character is displayed in the popup and click save